


- Green Buyers: To assess the quality of the crop before deciding which coffees to buy
- Roasters: To ensure that every batch of roast is as good as their last roast
- Coffee Specialists: To ensure that every coffee that makes it out of the roastery tastes excellent and delicious before they are served to customers
At PPP Coffee, cupping is also a platform for us to share about the coffees we love with our community, and to celebrate the wonderful farmers who produced them.
While the underlying principle of cupping is to assess the quality of the coffees, cupping is also a simple and fun activity that you can do at home.
Here's what you need!
Equipment List
14g of each coffee
3 cupping bowls (or 260ml cups)
1 weighing scale
2 small rinsing cups filled with hot water
2 cupping spoons
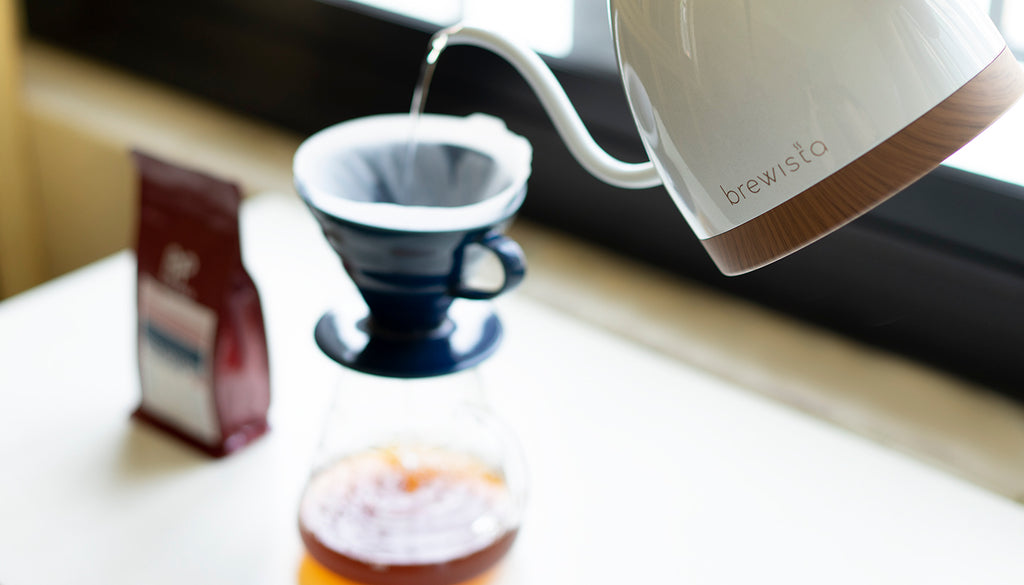
1 hot water kettle (with at least 1200ml of hot water)
1 grinder
1 timer
Loose paper napkins
Optional Items
1 cupping evaluation form
1 spit cup
Note: This setup uses 1 part coffee to 18 parts of water
Instructions
Step 1: Dose and grind 14g of coffee into the individual cups
Grind 2g of coffee through the grinder before grinding the 14g of coffee. This will remove any stray grounds.
Step 2: Take a whiff of the dry fragrance
What do you smell? Jot it down on your cupping evaluation form!
Step 3: Fill your cupping bowls with hot water and wait for 4 minutes
Make sure that you fill it to the brim!
Step 4: Take a whiff of the crust while waiting
What do you smell? Jot it down on your cupping evaluation form and compare it with what you noted in Step 2. Do you notice anything different? Some coffees’ fragrance will change after coming into contact with hot water.
Step 5: Use the back of the spoon to break the crust when the timer goes off
Put your nose near the surface and smell the wet aroma as you break the crust. Be careful not to dip the entire spoon into the cup, but just push it gently at the surface. Breaking the crust releases more aroma from the cup. What do you smell? Jot it down on your cupping evaluation form!
Step 6: Rinse the spoon in the rinsing cup when you are done with the first coffee
Repeat Step 5 for the rest of your coffees. Remember to rinse your spoons between each coffees. This will prevent cross-contamination.
Step 7: Remove the crust
Scrape the crust on the surface of the cup so that you don’t drink the floating grounds and excess coffee oils. Just imagine you are cleaning the surface of your hotpot!
Step 8: S-L-U-R-P
The coffees should have cooled by now. Take a small spoonful of each coffee and slurp the coffee. The purpose of slurping is to aerate the coffee and coat your tongue for you to taste more flavour and aroma.
Step 9: Take your time to taste
Flavours often change with temperature. Sip and evaluate your coffee slowly, from hot to warm to cool. Take note of how the coffees change with temperature!
We hope that you enjoyed this activity. If you have any feedback for us, please let us know in the comments below!
Mentioned in this article
More stories

San Antonio Chaguite, Guatemala
The Perez family has been one of our direct-from-origin producers since 2014, and we are delighted to present our sixth harvest with them this year...

Suke Quto, Ethiopia
Tesfaye Bekele has been one of our longest coffee partners since the early days of PPP Coffee. We are now entering our seventh consecutive year of ...